Complete Setup Guide for Building a RKPi5
Complete assembly and build instructions for creating and configuring your RKPi5 for the first time.
ℹ️
Beta Documentation
This documentation is still being developed during our beta program. Content may be altered, added, or removed based on real user experiences and feedback.
Before you begin:
What you need to have:
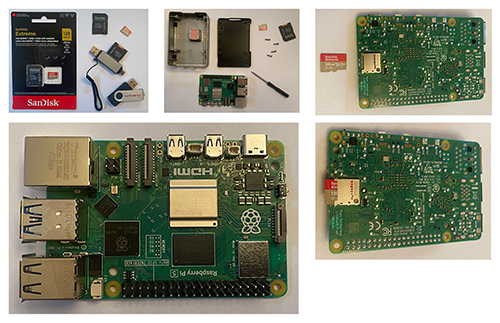
- [ ] Raspberry Pi5 8GB Starter Kit (Canakit)
- [ ] Two 128GB Sandisk microSDXC UHS-I with Adapter
- [ ] SD Card Reader, High-Speed USB C to Micro SD Card Adapter USB 3.0 Dual Slots (here)
- [ ] Rapture Kit 3.1 USB for the content
- [ ] A PC or Mac (with keyboard, mouse, and monitor)
- [ ] Download the Pi OS Imager app for making a microSD card with a fresh Trixie 64-bit install
- [ ] Download the RKPi5 install scripts (zip file, must be extracted)